How the hell did I get here? I imagine this question floating in the subconscious of most people reading an “Intro to Google Tag Manager” blog. Remember the days when life wasn’t so complicated?
Just think of those young, adolescent years when trying not to get out during recess kickball might’ve been the most urgent matter of your day. Don’t worry, I’ll get to the Google part. Just indulge me for a second—I’m reminiscing here.
Come to think of it, how much better would those kickball games be if at the end of recess, the kids would be given a full score sheet outlining player and team statistics? All of the recess chaperones would contribute to a specific duty—the lunch lady would keep track of errors while the weird, first grade teacher would keep track of hits and runs.
Over time, more chaperones could involve themselves in this kickball game and focus on specific duties, keeping track of anything that they feel is important to monitor. What was otherwise an untracked mess of kickball is now the most accurately reported children’s kickball game of all-time. That, everyone, is Google Tag Manager.
Well, kind of.
Google Tag Manager is actually a website tagging management solution for anyone involved in tagging and monitoring events or actions on a website. Instead of placing code after code tracking separate elements on the back end of a website, Google Tag Manager requires one code to be placed onto every page of the website. At this point, any tags that you’d like to add, delete, or update are fully within the control of everyone that’s been added to the Google Tag Manager account.
Breaking Down Google Tag Manager:
Account
In order to set up Google Tag Manager, you need to have an account that is associated with a Gmail address. The account should be made at the organizational level.
Container
Think of the container as, well, a container that holds all of your tags that have been added for a specific domain. An account can house multiple containers. An accompanying ID is formatted as “GTM-*******” for every container (the asterisks represent an ID that is unique to every container).
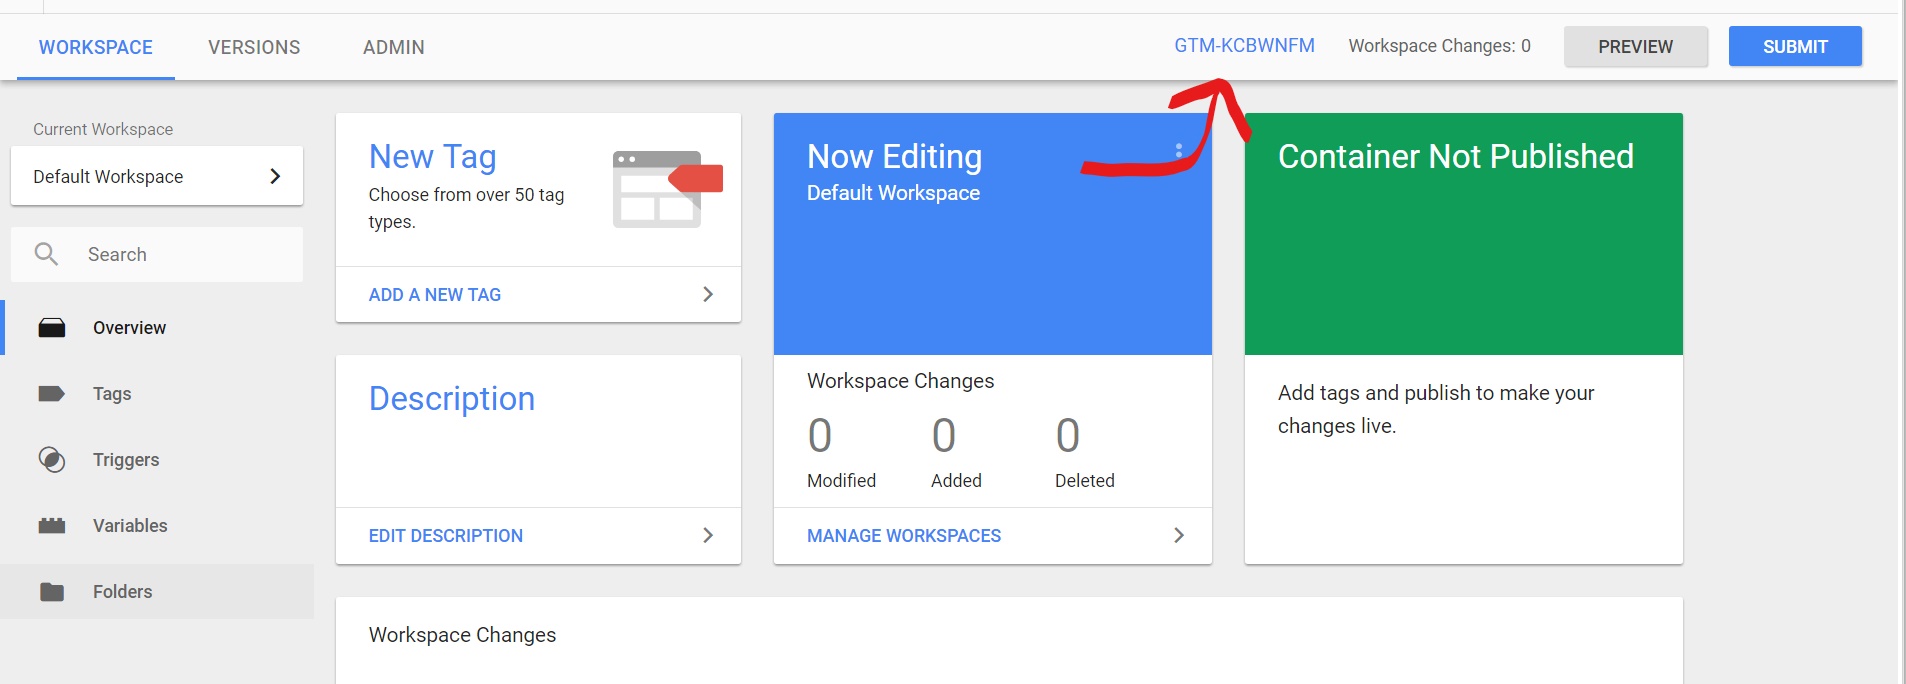
Clicking on the container ID (seen below) will reveal a code and a small list of instructions for how to place it onto every page of your website.
 Once the code for the container is placed onto the site, you can now start creating tags without having to access the backend of the site again–no help from the web design team necessary!
Tag
A tag within a GTM container can essentially be thought of as a web page script. You can view tags as a self-contained unit within a container that sits on the browser waiting for a certain event to take place during a webpage visit. Each tag requires a trigger in order for it to be fired.
Trigger
A trigger is essentially the exact action that needs to take place in order for a tag to be fired. Without a trigger, a tag does not know when to say something fired. It is important to preview these triggers to make sure that they are working how you would like them to before actually submitting them.
An example for a basic trigger setup would be when a potential customer fills out a lead form, traditional sites will usually take the lead to a “thank you” page. The URL will often contain /thank-you/ or something that is only shown when form fills take place. You can then set a trigger to only be fired on clicks where the page URL contains /thank-you/. This should then send the signal for the tag to be fired.
While this is just a basic introduction to Google Tag Manager, enhancing your knowledge with this one tool is an unbelievably good asset to have for any business. Not only is this a great way to manage all of your tags and keep them in one organized place, but having a deep knowledge in GTM can provide businesses with original insights that could be extremely valuable to the success of any company.